Yes, you can easily groom your Sheltie at home. And no, we won't be doing any haircuts! This step-by-step guide covers line brushing, dematting, deshedding, nail clipping, and bathing to keep your Sheltie's coat healthy and knot-free all year round.

How to groom your Sheltie at home
Step 1. Line Brush The Undercoat
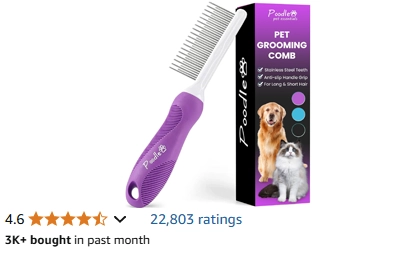
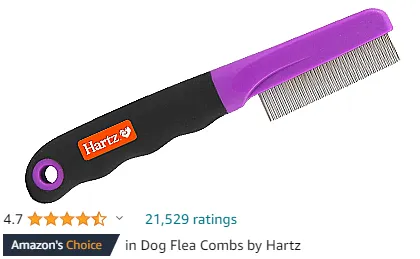
The best way to brush out the loose undercoat is with a method called line brushing. Start at the back of the neck and part the fur horizontally down to the skin. Use a detangling comb in small strokes to strip out the loose undercoat. Work inch by inch down to the tail until there's no loose fluff coming out.
Step 2. Deep Rake The Butt Fur
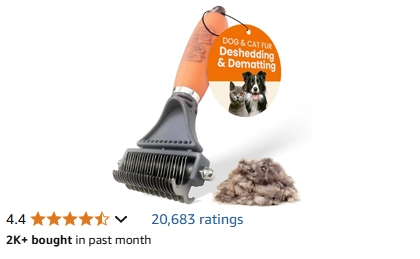
Shelties have a dense forest of coarse fur on their hind legs. Switch up to a dematting rake which has sturdy tines capable of pulling out pockets of coarse, dead fur. A dematting rake is also great for tackling the thick winter coat.
Summer vs Winter Coat
A quick side note on the fluctuating density of your Sheltie's coat.
The double coat of dogs is a well-honed biological adaptation. The fluffy undercoat is soft and dense, buffering the body from injury and insulating it by trapping warm air.
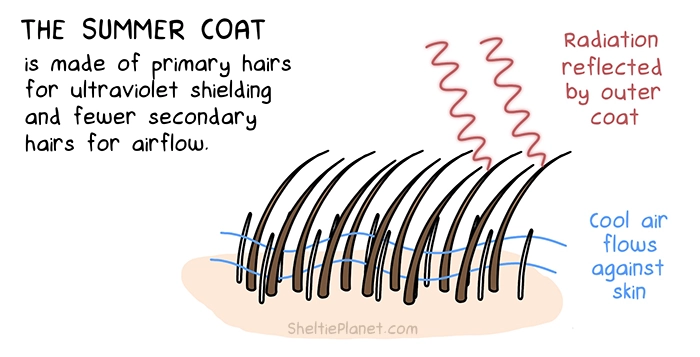
Just before summer, Shelties shed a large amount of the undercoat, which allows cool air to flow against the skin. Year-round, the undercoat is shielded by the coarse outercoat, made of long, thick guard hairs to protect against the sun, rain, and snow.
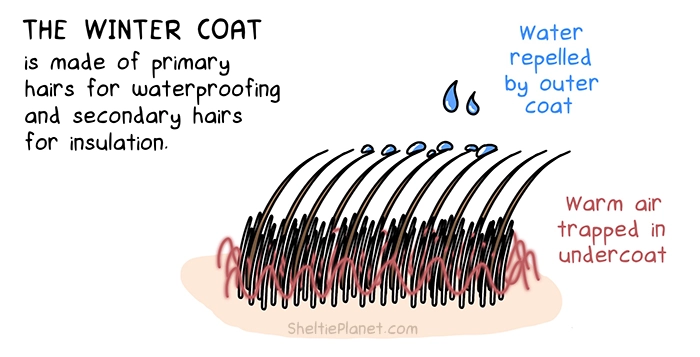
This double layered system helps your Sheltie regulate her body temperature all year round. It's like a built-in climate control system. This is why you should never shave a Sheltie as it destroys this natural system.
Now, back to our home grooming routine.
Step 3. Precision Comb Small Areas
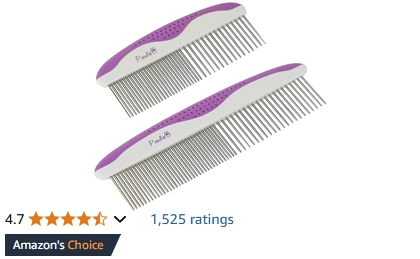
Now grab a fine-toothed comb and tackle the delicate, wispy fur in hard-to-reach spots. We're talking behind the ears, under the collar, and in the joints. Use your fingertips to feel for any hidden mats and gently work them loose. For the sensitive underbelly and arm pits, encourage your Sheltie to lie down and roll onto their back, relaxing them with a soothing belly rub.
If the fine fur is matted into a bulb, trimming may be the best option. Don't pull the fur taut, as this pulls the skin into the path of the scissors; instead, hold the fur loosely and make small snips until the mat is free. If you prefer to comb out these tough knots, pinch the fur at the base skin to absorb the tension and use small strokes.
Step 4. Slicker Brush The Outercoat
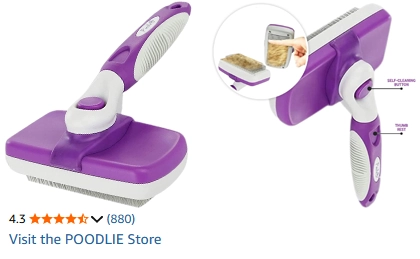
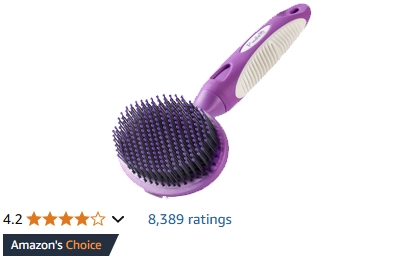
Finally, run a slicker brush in long, smooth strokes down the outercoat, following the direction of hair growth. The slicker brush removes loose hair, debris, and minor tangles from the coarse guard hairs while stimulating circulation and distributing natural oils, leaving the coat softer and shinier. If your Sheltie has particularly sensitive skin, opt for a soft bristle brush instead of a wire slicker.
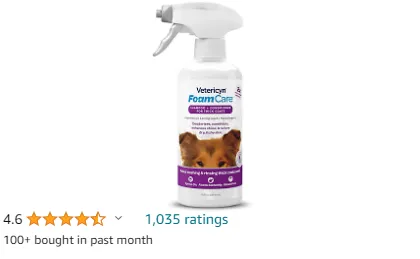
For a professional finish, lightly mist a leave-in conditioner while brushing. This helps prevent tangles and static while moisturizing the outercoat to reduce frizz, particularly after bathing.
Step 5. Trim The Nails and Paw Fur
Once a month, trim your Sheltie's nails and any overgrown fur between the paw pads. Keeping the nails short prevents them from touching the ground. Overgrown nails cause the toes to arch backward, forcing an unnatural gait that puts strain on the tendons, potentially leading to limping and arthritis.
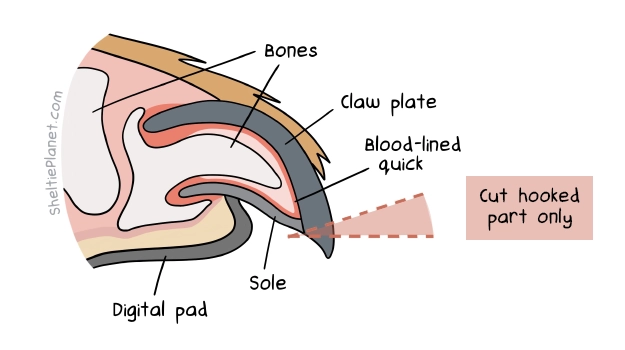
Start with a white claw, which is easier to trim since you can see the internal pink quick (the blood supply). Using guillotine-style clippers or an electric nail grinder, trim just the hooked tip. When clipping, always cut top-down, as sideways cuts can crush and splinter the nail.
Make small trims of 1-3 mm at a time, and watch for a gray or pink oval inside the freshly cut nail, as this signals you're near the quick, so stop cutting. Black claws require extra caution since the quick isn't visible.

No matter how careful you are, there will come a time when you clip too close to the quick. Stop the bleeding by dipping the nail into styptic powder. This quickly clots the blood, blocks bacteria, and contains benzocaine for pain relief. No styptic powder? Press a tissue firmly against the nail for a few minutes until clotting occurs, then offer extra treats and apologies!
Remember to trim the dew claws! These small "thumb" nails on the inner legs don't touch the ground, so they don't wear down naturally. If left untrimmed, they can curl and grow into the skin. Shelties usually have front dew claws only, but check for rear ones if your dog has mixed ancestry. Rear dew claws aren't attached to bone and are often removed by vets to prevent snagging.
For neat, tidy paws, use curved safety scissors to trim the fur between the paw pads while your Sheltie is lying on their back. Trim until the fur is flush with the pads, taking care not to angle inwards as hidden webbing between the toes can easily get snipped. Once done, stand your Sheltie up and trim the outer edges of the paws into a neat, rounded shape.
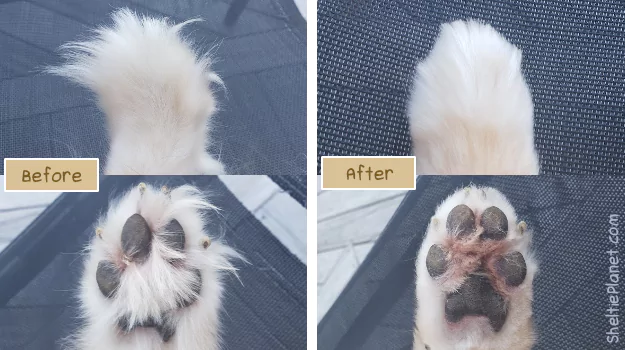
Sheltie Paws before and after grooming and nail clipping.
How to Bathe Your Sheltie
Tip #1. Bathe Only Every 1-2 Months
Shelties naturally keep themselves clean and don't need frequent bathing. They aren't the type to roll in filth, and overbathing (weekly or more) can disrupt their skin's natural microbiome. Soap strips away beneficial bacteria and natural oils, weakening their skin's defenses against irritants, bacteria, and yeast.
However, zero bathing is problematic too. Dogs encounter bacteria, fungi, and grime on walks, from duck poo to stagnant water. Without occasional baths, dirt and dead skin cells can build up, leading to microbial overgrowth, clogged pores, and even skin infections.
Tip #2. Shower with Warm Water
Dogs have thinner, more sensitive skin than humans, making them more prone to heat injury. While you may enjoy a hot shower, temperatures above 102°F (39°C) can cause discomfort, disrupt the skin barrier, and lead to irritation. Instead, use lukewarm water (75-85°F / 24-29°C), as this is closest to a dog's natural skin temperature.
Shelties have a water-resistant outercoat, meaning their fur doesn't soak through easily. To properly saturate the coat, part the fur with your fingers and use a shower nozzle directly against the body. Be thorough: simply running water over the top won't reach the insulating undercoat.
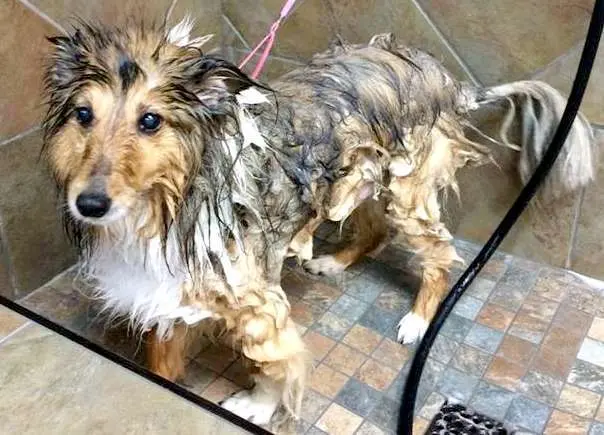
Watch your Sheltie shrink - Deborah White Duffy
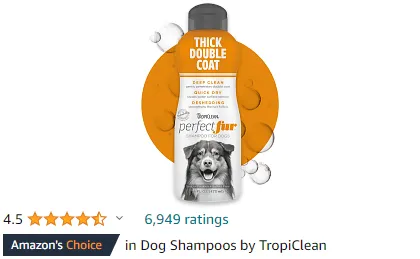
Tip #3. Use Dog Shampoo for Double Coats
Human shampoos are designed for acidic skin (pH 5.5), while dogs have a more neutral pH (6.2-7.4). Using human shampoo disrupts the skin's acid mantle, stripping protective oils and making the skin more vulnerable to bacteria, fungi, and allergens. This can lead to dryness, irritation, excessive shedding, and infections.
For Shelties, choose a pH-balanced dog shampoo formulated for double-coated breeds. These shampoos penetrate the water-resistant outercoat, loosen partially shed undercoat, and gently exfoliate the skin. If your Sheltie has dry or sensitive skin, opt for a hypoallergenic shampoo. After lathering, rinse thoroughly for several minutes, as leftover shampoo can clog follicles, trap dirt, and cause itching or dermatitis. Run your fingers through the fur and check for lingering soap bubbles to ensure complete removal.
Tip #4. Keep Ear Canals Dry
Avoid directing the shower nozzle toward your Sheltie's large, open ear canals. Unlike human ears, which have a relatively straight canal, a dog's ear canal is L-shaped, curving down before making a sharp turn toward the eardrum. This structure enhances hearing but also traps moisture, creating an ideal breeding ground for bacteria and fungi. The warm, damp environment encourages microbial overgrowth like Malassezia yeast and Staphylococcus bacteria, both common culprits of outer ear infections. Water mixing with natural earwax can form a sticky residue, further fueling bacterial growth. Signs of infection include head shaking, ear scratching, redness, swelling, and foul odor. Left untreated, infections cause pain, inflammation, and even permanent hearing loss.
To prevent moisture buildup, keep your Sheltie's ears dry during baths. Tilt their head downward when rinsing to prevent water trickling inside, and never spray directly into the ears. If you're worried about splashes, gently insert cotton wool balls into the outer ear canals as a barrier. After the bath, remove the cotton and use ear wipes with drying agents to eliminate any lingering moisture. Regular ear checks and cleanings go a long way in keeping your Sheltie's ears healthy and irritation-free.
Tip #5. Pat Your Sheltie Dry with an Absorbent Dog Towel
When drying your Sheltie, avoid vigorous rubbing as wet hair is far more fragile and prone to breakage. Instead, gently pat the coat with a quick-dry towel for dogs to absorb excess moisture without causing frizz or damage. Microfiber pet towels are particularly effective as they wick away water without roughing up the fur. The more moisture you remove at this stage, the better: your Sheltie will be less inclined to roll and rub against furniture to dry off, sparing both his coat and your home from unnecessary wear and tear.
After this, allow your Sheltie to air dry indoors in a warm, draft-free environment. The dense double coat can trap moisture deep in the undercoat for hours, leading to musty odors and potential skin irritation. To speed up drying, use a high-velocity pet dryer to blast water out of the undercoat without overheating the skin. A human blow dryer on a low-heat setting also works, but keep it at least 6–12 inches from the fur and move it continuously to prevent heat damage. Work methodically, parting the coat with your fingers to ensure the air reaches the skin. For a professional finish, a light spritz of leave-in conditioner helps prevent tangles, flyaways, and static buildup, leaving your Sheltie's coat smooth and glossy.
How Often Should You Groom a Sheltie?
To keep your Sheltie's coat in good condition, deep groom him once a week. If he's shedding heavily—especially during seasonal coat blows just before summer—then brush more frequently. Note that unspayed female Shelties go through heavier shedding every 6-8 months due to hormonal cycles.
Maintain a consistent grooming routine and you'll keep your Sheltie's coat beautiful, healthy, and mat-free, while strengthening your bond through gentle grooming sessions.


Freeze-Dried Beef Liver Treats, Single Ingredient, High Protein, 17.6 oz
Shop Amazon >
Air Dried Salmon Sticks Dog Treats, Real Meat, Made in the USA, 10oz
Shop Amazon >
ARK NATURALS Protection+ Brushless Toothpaste, Dog Dental Chews for Small Breeds
Shop Amazon >

Blue Buffalo Dental Bones, Mini Natural Dental Chews for Small Dogs (5-15 lbs)
Shop Amazon >

A Brief History of Shelties

Blue Merle Shelties


101 Cute Sheltie Puppies


